Disclaimer: I can barely sew, so please excuse all the mistakes.
I wanted to try some "daddy flats" but couldn't find much info on them, or a pattern, so this is how I made them. I used DH's (dear husband's) old t-shirts, and love how they work as diapers. Soft, a little stretchy, absorbent, and free! Can't beat that! The wash-and-driability of flats with the convenience of a prefold. And did I mention free?

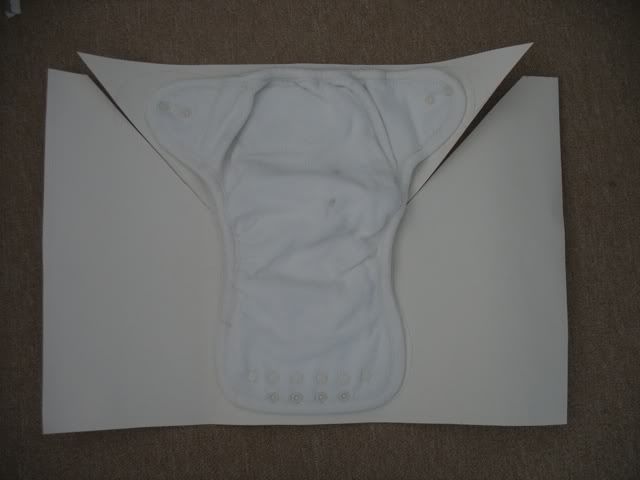
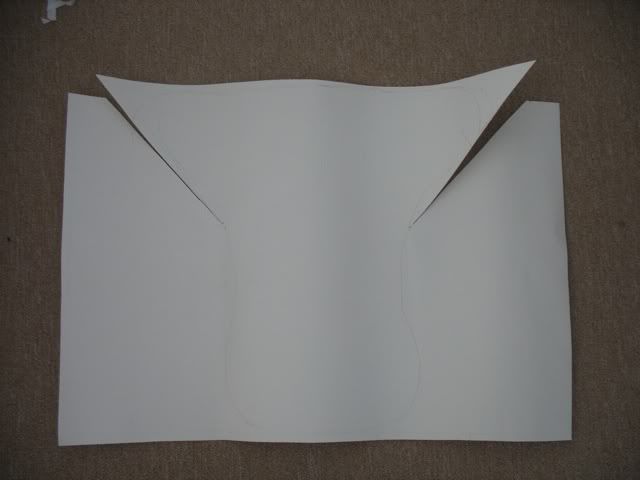
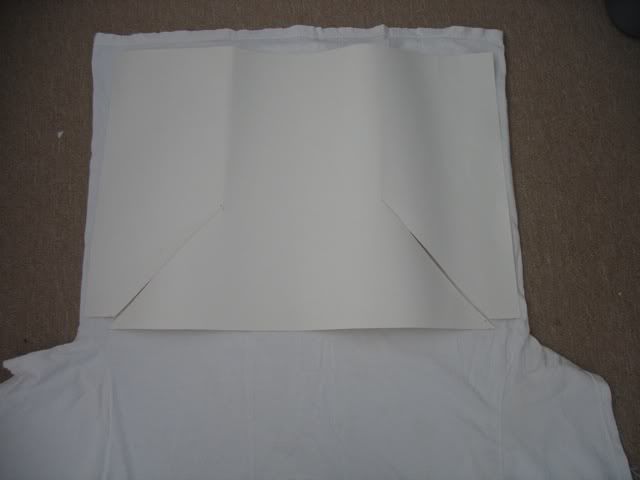
Trace a diaper on posterboard. This is a MEOS (Mother-Ease One Size). I traced it generously and stretched out the tabs. Cut down diagonally to make wings. The tabs are cut a little lower so they fit into the diaper when it's all folded up.
Now you have a template.
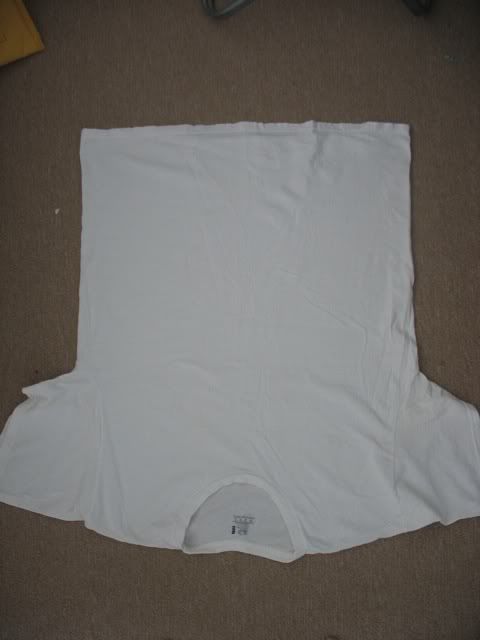
Turn t-shirt upside down (for easier cutting) and spread flat. This is a men's x-large, which is a great fit on my 24 lber. I've also used men's large and youth large; these are very forgiving so you can use just about anything and tweak it.
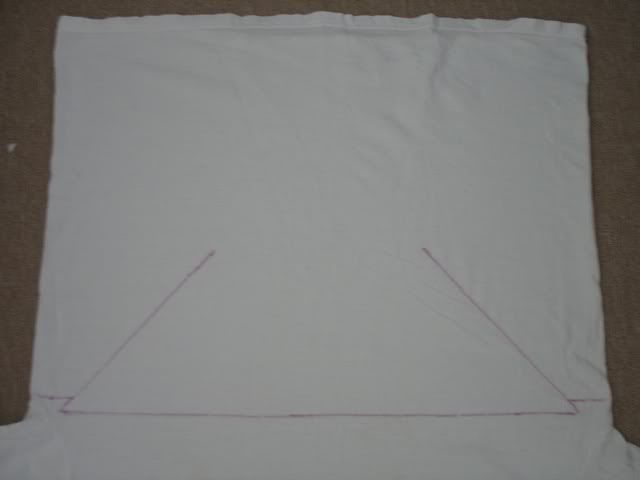
Borrow your kid's washable marker and trace template onto shirt.
Take off the template and this is how your shirt looks.
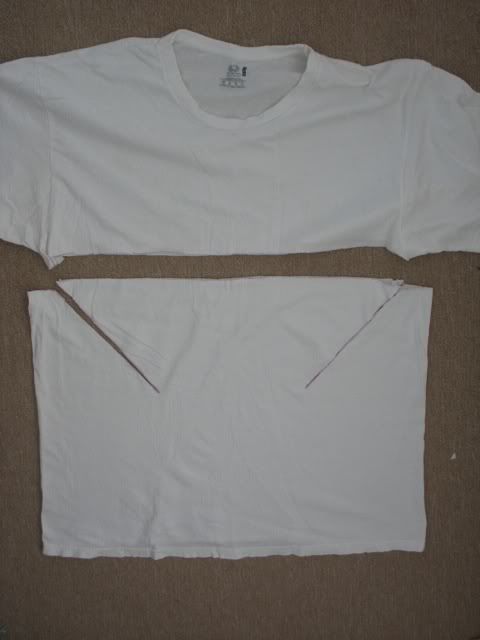
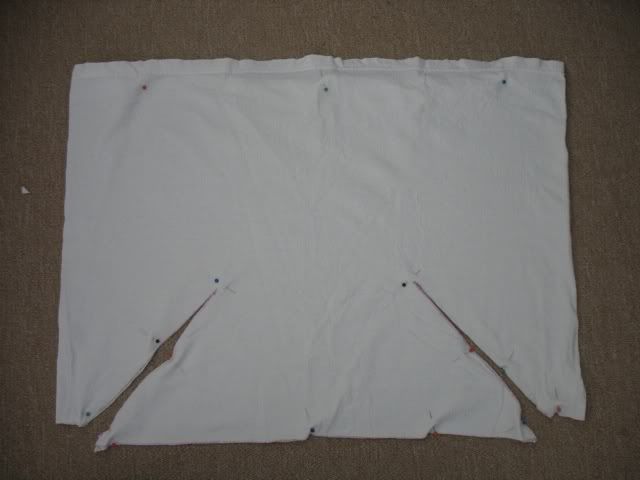
Cut along the lines. Now you'll only be working with the bottom half of the t-shirt.
Pin now while it's all flat. If you want to turn and topstitch and make it all pretty, you'll want to turn it inside out before pinning. Put the pinheads on the cut side of fabric so you don't stick yourself while sewing.
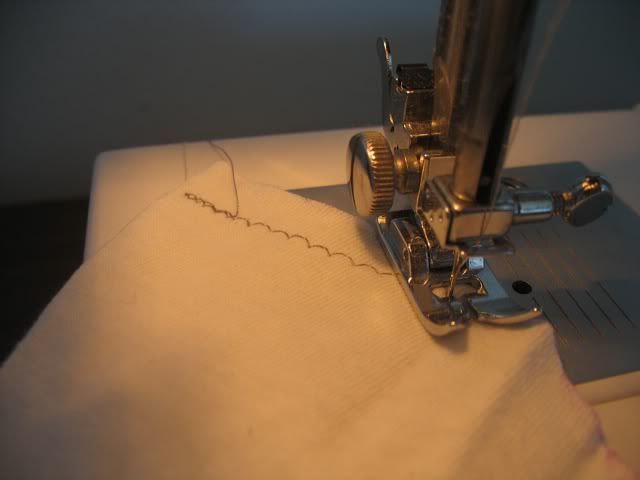
I can barely sew, and didn't care how these looked, so I just zigzagged around the edge, and used up random colors of poorly-wound bobbin thread. This material won't fray anyway. Use a ballpoint needle and poly thread if you can! That made such a difference for me.
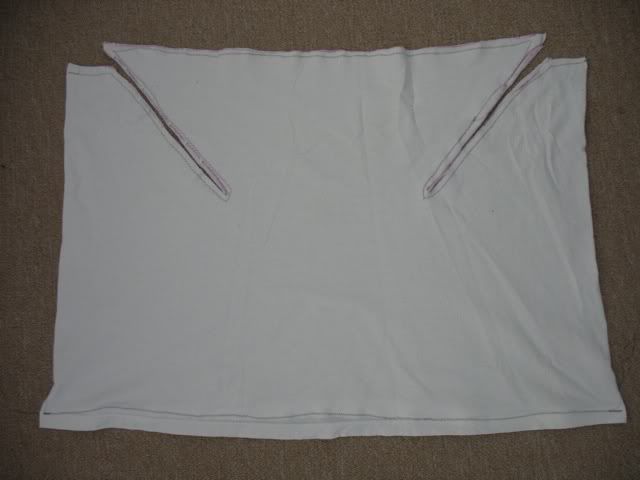
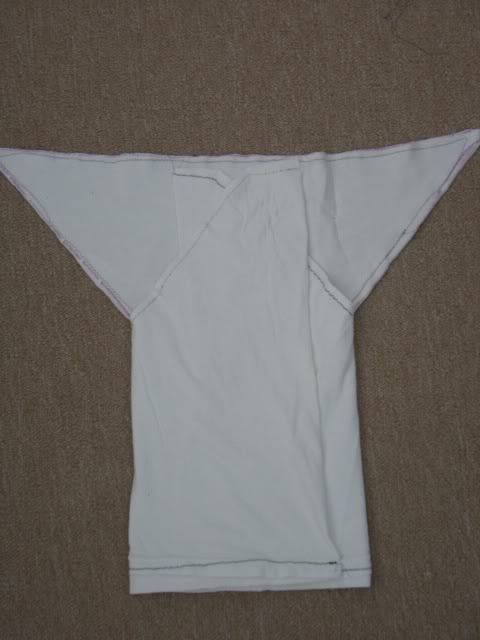
All sewn together.
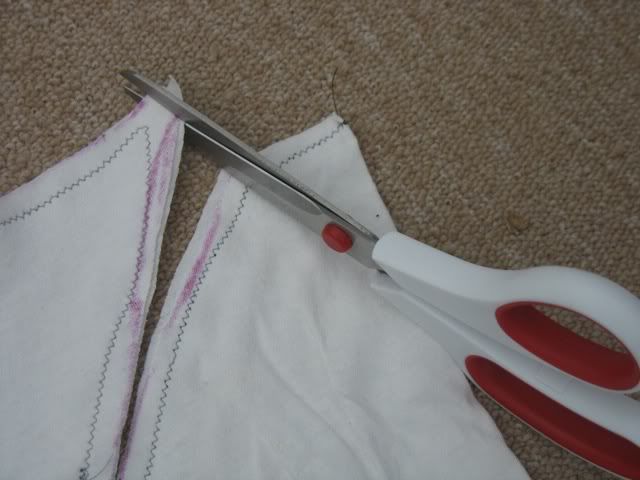
Trim to neaten up.
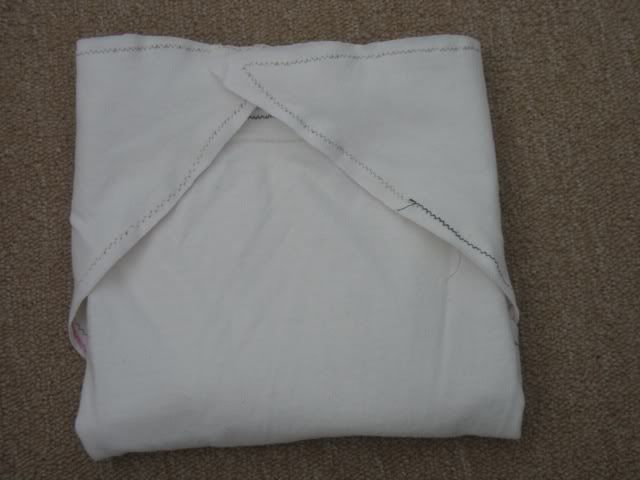
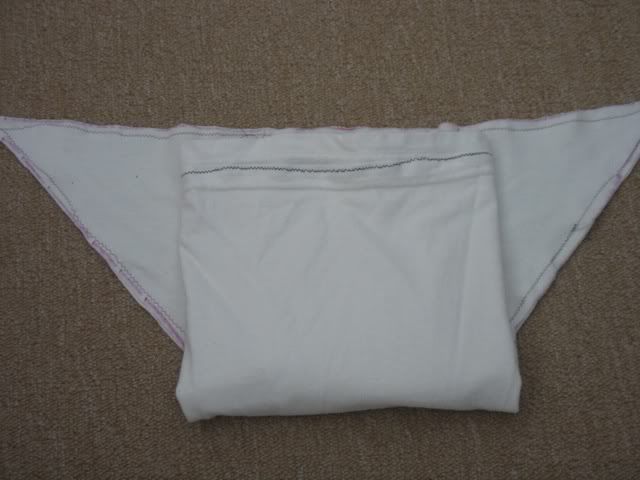
Ready for a baby! Fold in sides (this makes the soaker-6 layers when folded).
Fold up the front. If the rise is too long, just fold it down. This is pretty much a one-size diaper.
The wings are nice and long...I really like it pinned with one pin in the middle. It also Snappis well. Now you have a basic white diaper.
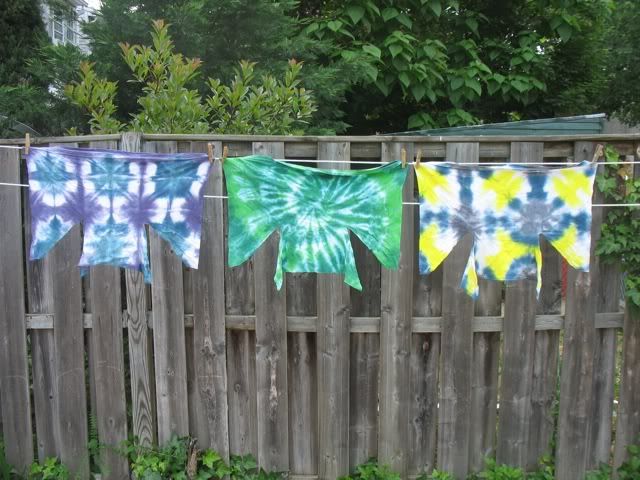
Or you can dye them and make beautiful diapers
So if you have a sewing machine, internet access, and old t-shirts, you can have fairly convenient diapers for the cost of your time. The hardest part is threading the machine and winding the bobbin. Like I said, I really can't sew, but these only took a half hour each to cut out and sew. If you have any skill, you could knock out a whole stash in half a day! And you can theoretically use any material, and sew in soakers, add snaps, whatever (I haven't actually tried that yet
 )
)Have fun!

Wow, what a great way to make cloth diapers cheap and affordable for anyone. I like pic of the tie-dyed ones on the line all the colors make the diapers fun.
ReplyDeletewow, did you KNOW I was looking for an idea such as this? LOL.. I 've just started sewing and was looking for something easy, that didn't have elastic or snaps or any finicky sewing to do... and voila... the answer to my cloth diapering prayers for today :)
ReplyDeleteI love the tie dyed ones... pretty! I have been thinking seriously about DIY fluff for my LO and I really can't sew either. This is an awesome idea! Thanks for sharing!
ReplyDeletethis is such an awesome idea! thank you for sharing!!!
ReplyDeletelove it super easy even for me I'm totally sewing disabled lol going to make one Now I have to find out how to get thread on the bobbins :))
ReplyDeleteWow, now I know what I'm going to do with the t-shirts I bought to sew into fitteds but was too exhausted and intimidated about doing it wrong to sew.lol. This is amazing. Thank you! :)
ReplyDelete